How to Share Screen with Zoom on iPhone & iPad
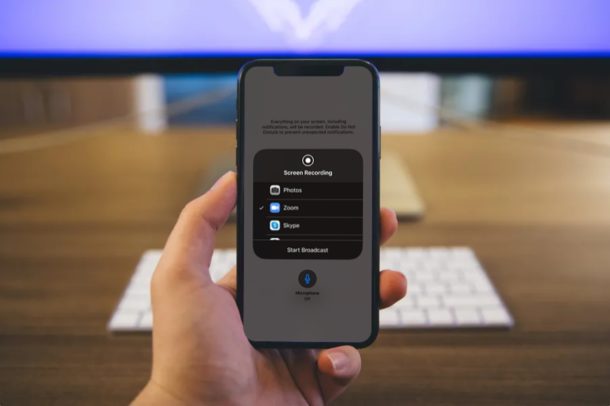
If you’re using Zoom meetings for teleconferencing, you may find it useful to know how you can share the screen of iPhone or iPad from Zoom. This can be helpful for many reasons, whether to go over work together, show a presentation, walk through something, or any number of other purposes for screen sharing.
Zoom makes sharing the screen of iPhone and
iPad quite easy, but like anything else you need to know how it works. This
article will show you how you can screen share using Zoom in iOS and iPadOS.
How
to Share Screen with Zoom on iPhone & iPad
Although you don’t need a Zoom account to
join a meeting, you’ll need one if you want to host a meeting. So, make sure
you sign up for a Zoom account and
simply follow the steps below to share your screen.
1.
Open the Zoom app on your iPhone or iPad.

2.
Once you’ve signed into your Zoom account,
select “New Meeting” in the main menu.

3.
Here, make sure the toggle for “Use
Personal Meeting ID” is enabled and then tap on “Start a Meeting”.

4.
This will launch your iPhone or iPad camera
and start the Zoom meeting. In order to share your screen, tap on “Share
Content” located at the bottom of your screen.

5.
Now, tap on “Screen” which is the first
option, as shown in the screenshot below.

6.
Here, make sure “Zoom” is selected and then
tap on “Start Broadcast” to start sharing your device’s screen. If preferred,
you can also turn the microphone on/off using the toggle right below this menu.

7.
If you’re not hosting the meeting, you can
simply join a meeting and share content in exactly the same way. Alternatively,
you can also choose “Share Screen” directly from the main menu to make things
easier.

8.
Now, you simply need to enter a sharing key
or the meeting ID to share your device’s screen to a Zoom room.

Now that you have learned how to share screen with Zoom
app on both the iPhone and iPad, you’re ready to use the feature anytime you
need it.
As you may have noticed, the screen sharing
feature is similar to what you’d use for screen recordings on iPhone and iPad,
so if you’re already familiar with that it shouldn’t be too foreign to you.
For those who own multiple iOS devices, you can even use
one of those devices to video chat and another device to screen share content
with your participants. This feature could come in handy during an online
lecture or presentation, or for many other purposes.
Zoom offers both free
and paid subscription plans. The free plan has a 40-minute limit on
group meetings and capable of hosting up to 100 participants. If you want a
longer duration limit on your Zoom meetings, you’ll need to subscribe to the
Pro plan that costs $14.99 a month and lets you host 24-hour meetings.
Additionally, the $19.99/month business plan will let you host up to 300
participants in a single meeting.
That being said, Zoom certainly isn’t the
only video conferencing software that lets you share the content on your iPhone
or iPad’s screen. There are also great solutions from Google Hangouts Meet, Skype for Business,
and there’s even MacOS native screen sharing if
you’re
on a Mac, so you can use whichever works for you for your particular needs.
Whether you’re using Zoom for online classes, work
related meetings, medical, or even personal use, you may find that Screen
Sharing is a great feature to add to your video conferences.
Did you successfully share your iPhone or iPad screen
using Zoom? Do you use multiple iOS devices for doing your presentations,
slides, and online lectures? Do you use another screen sharing solution
instead? Let us know your thoughts and opinions on Zoom in the comments section
down below.